DIY acoustic absorption panels using Owens Corning 703 fiberglass insulation
Construction of simple absorption panels
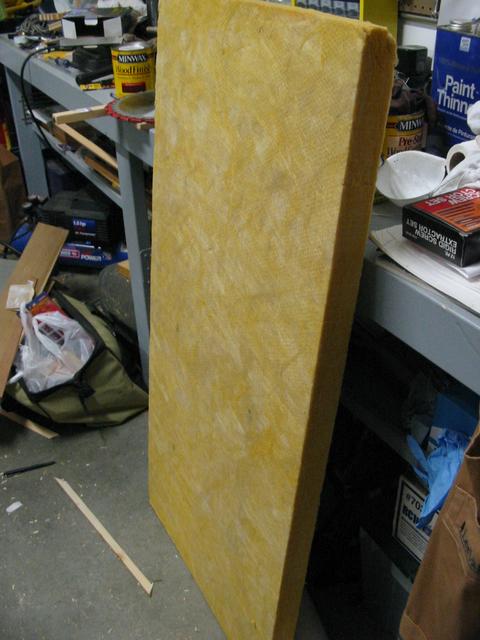
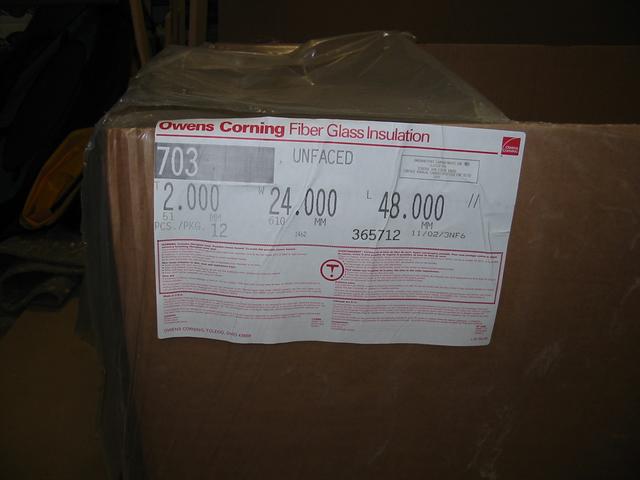
Owens Corning 703 compressed fiberglass insulation batt is a readily
available material which is
effective at absorbing sound down to 125Hz or lower, depending on the
type, thickness and specific application. In a weekend project
I was able to construct several panels from 2-inch thick "unfaced"
(no backing) 2' x 4' Owens-Corning 703 batts, which I had purchased for about
$0.90 per square foot:


I decided to use 2x4 lumber for the frames. I had seen commercial panels
with beveled edges, which I thought looked nice (remember this is a
family room and my wife has to accept any modifications I make in here). Also
the apparent thickness of the finished panels was a concern, aesthetically.
I thought a beveled edge would give the illusion of a thinner panel.
So I came up with the following design:
- On the table saw, rip 2x4 stock to 2 and 3/16 inches wide,
placing what you wish to be the front face of the frame against the rip fence.
- Rotate the work 180 degrees (end-for-end) so that the edge that you just
formed with the blade is now against the fence.
- Set the distance between the fence and the blade to 1 and 3/8 inches.
- Set the bevel angle of the blade to 30 degrees (you may need to move
the fence to the other side of the blade, depending on which way your saw
tips the blade for bevel operations).
- Rip the board again, this time putting a 30 degree bevel onto what will
become the face of the frame.
- Cut the now-shaped 2x4 stock into frame members on a miter saw to whatever
dimension you want the final panel to be.
- Glue the frame together and either nail it with a pneumatic nail gun or
else clamp it. A picture of this step is below.

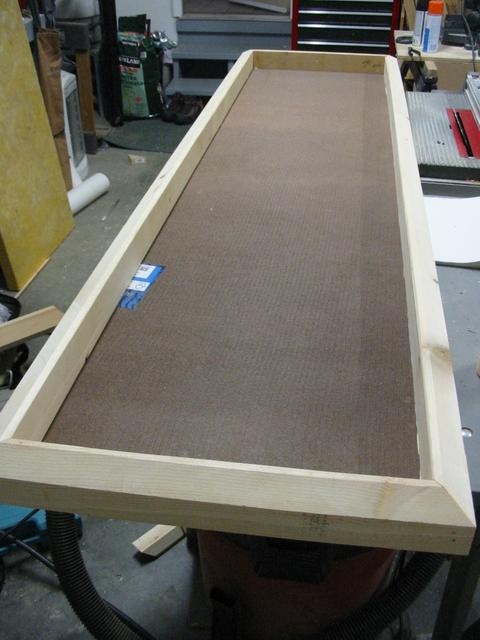
- Cut a piece of 1/8 inch thick hardboard to size and glue and nail it to
the back of the frame. This is to keep it square and sturdy (for hanging) and
to provide a backing for the fiberglass batt. A picture of this step is below.

- Cut the batts to size (if necessary) so that they fit snugly into the
frame. I found that a serrated cutting tool (such as a small drywall saw) and
a straightedge were very effective tools for this.
- Sand and paint the frame black, and cover it with black, acoustically
transparent fabric. I used fabric I found at Wal-Mart
($2 per yard in 60" width) which allowed air (and a small amount of light,
which is why I painted the frame) to freely pass through it.
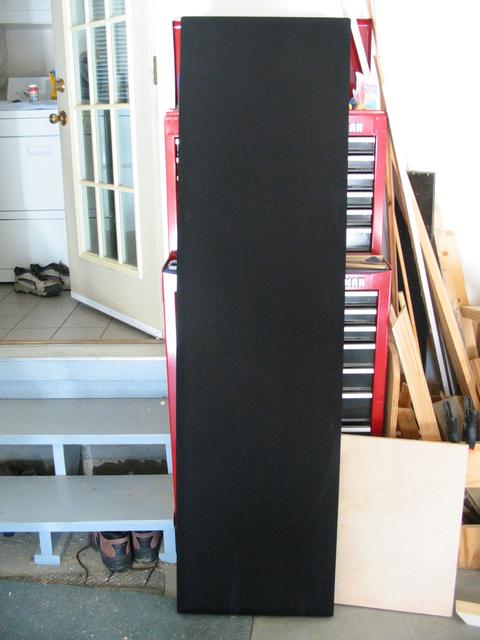
Here's the finished product. The picture is not very good - the beveled
panels came out looking very professional and attractive. If you
placed these behind the L+R front positions like I did, you might even fool
your friends into thinking you had purchased a nice pair of Maggies :->

Overview |
DIY absorptive panels |
WAF to the Max!


